


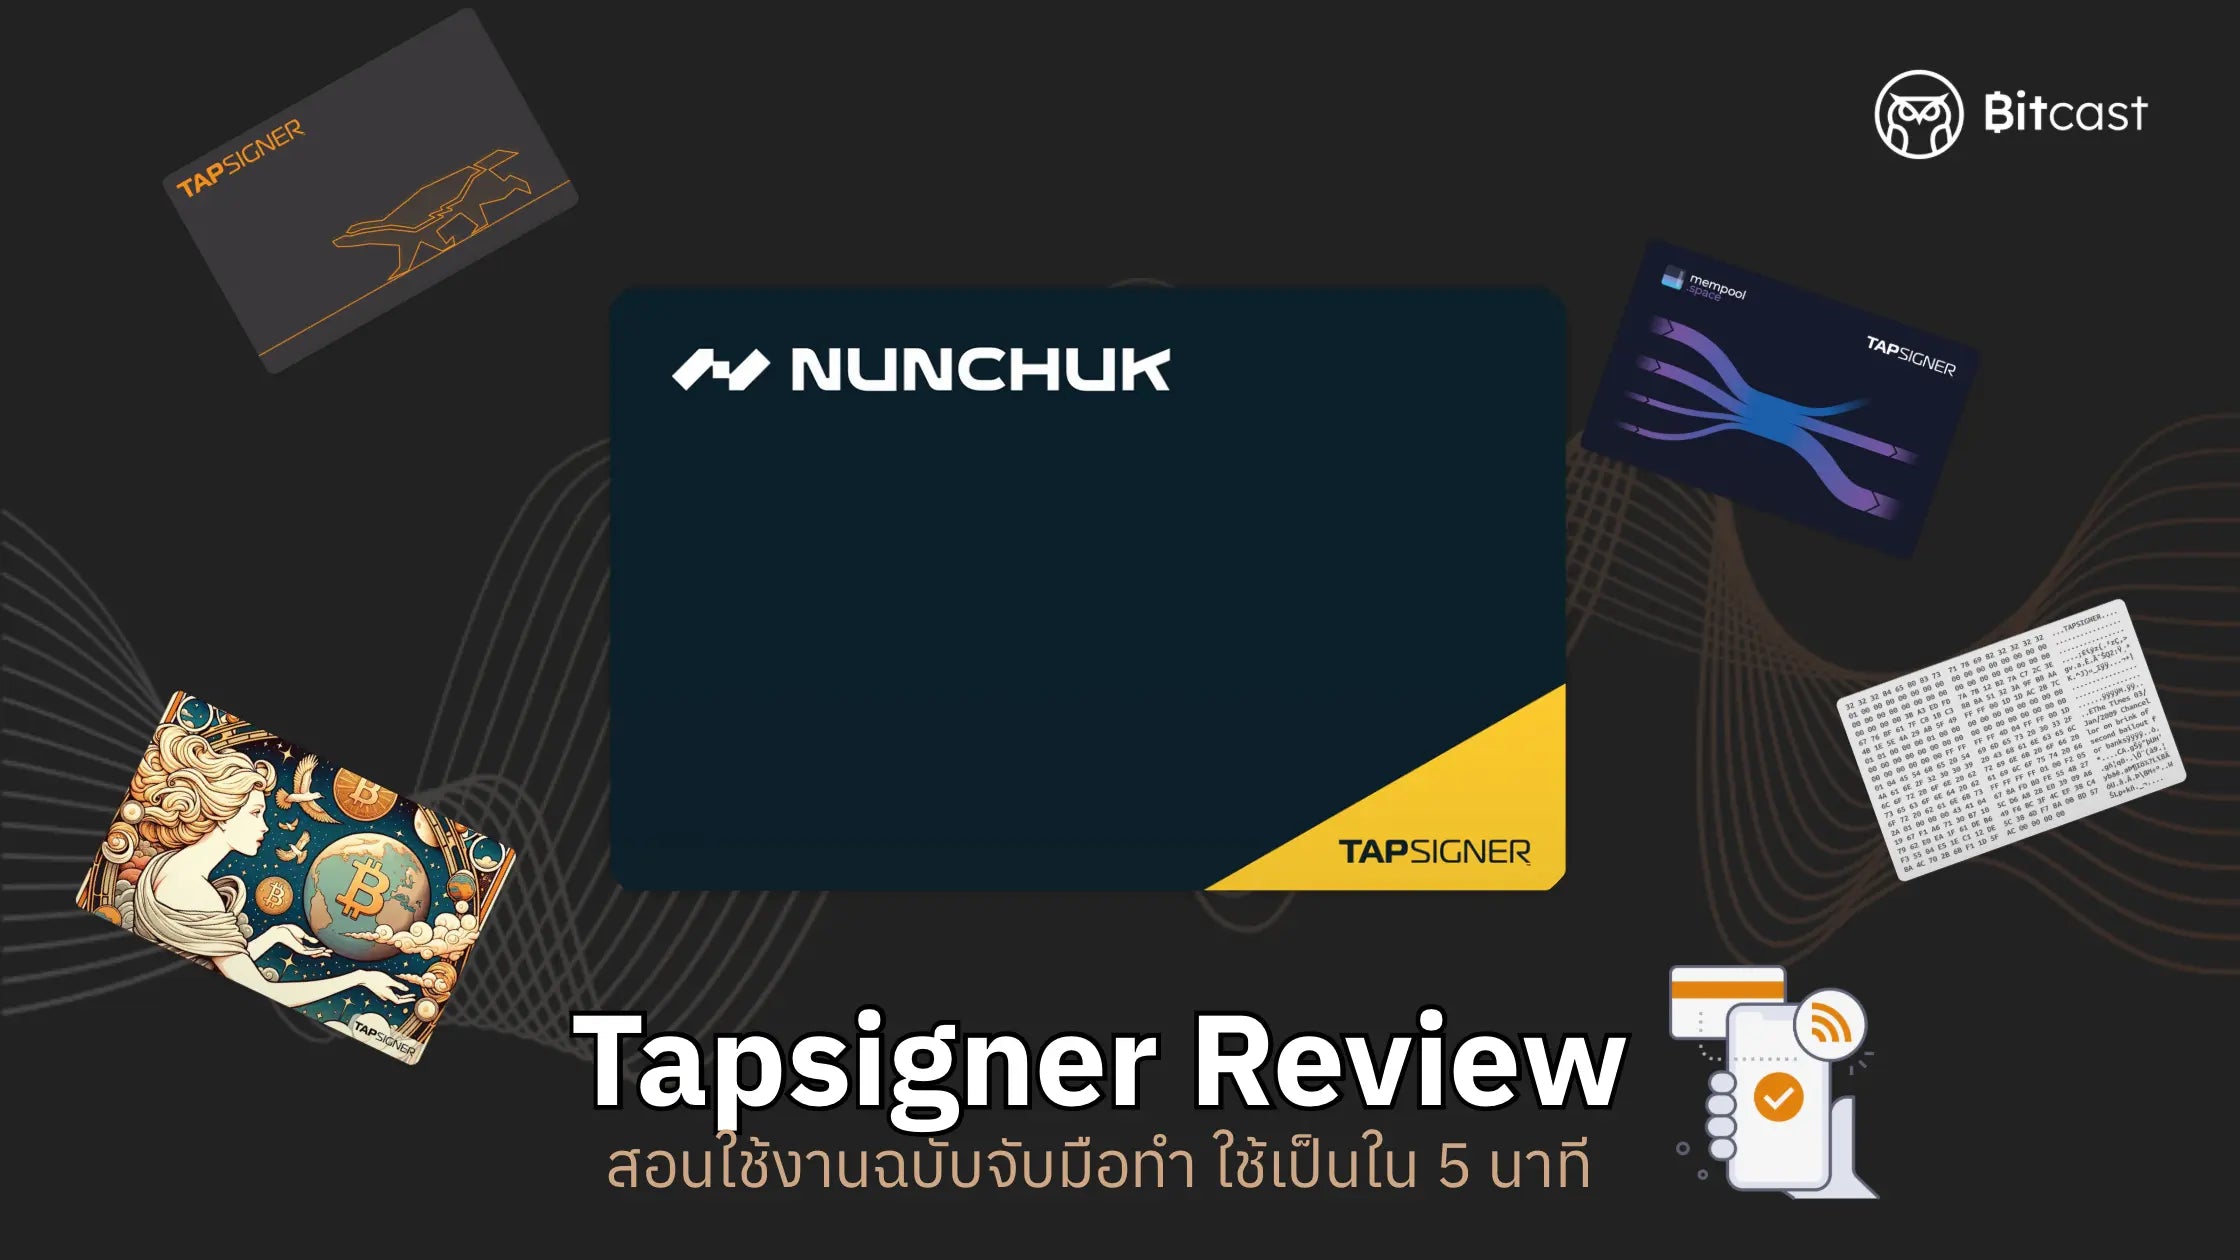
TapSigner: An Easy-to-Use Yet Secure NFC Card for Bitcoin
First, let's get acquainted with the card's details. The card is made of polycarbonate, making its properties and characteristics similar to those of credit cards or national ID cards we commonly use. However, there are some details we need to pay attention to.
Details on the back of the card:
- Card identifier: The unique ID of your TapSigner card.
- Starting PIN: The PIN used to pair with the app for the first time.
- Backup password: The password used for key recovery in case you need to restore your key or wallet. It is recommended to write it down and keep it in a safe place.

Step 1: Download and install the Nunchuk application
- Go to the App Store or Google Play.
- Type "Nunchuk wallet" and tap install.
- Download according to your operating system.

Step 2: Connect TapSigner to the Nunchuk application
- Open the Nunchuk application. You will see a login page. You can choose to log in with email or not log in at all.

- After logging in, you will see the home screen. You can start connecting to TapSigner by tapping "Add key".

- The system will ask you what you want to connect to Nunchuk. In this article, we will choose TapSigner.
- Tap "Add TapSigner via NFC" -> Tap your TapSigner card to your phone -> Follow the steps prompted by the system to install the NFC Key.
- Set up chain code: select automatic.
- Set up new PIN:
- Starting PIN: The PIN found on the back of the card.
- New PIN: A new PIN that you set for use.
- Confirm new PIN: Re-enter the new PIN you set in the previous step to confirm.

- The system will prompt you to back up a file for your key recovery. Make sure to save this backup (this step is very important). This completes the key installation.

Step 3: Creating a new wallet
- Tap "Create new wallet."

- The system will ask you to choose what kind of wallet to create. In this article, we will first cover creating a "Single signature" wallet (Multi-signature wallets will be discussed in a later article). Tap "Custom wallet."
- Name the wallet and select the address type: choose "Native Segwit."
- Select the key you added in the previous step.
- Required Key: This is the number of keys needed to confirm a transaction. For a single-signature wallet, select 1 Key, as only one key is required to confirm the transaction. However, for a multi-signature wallet, more keys will be needed to confirm transactions.
- Review the information carefully.

- The system will prompt you to back up a file for your wallet recovery. Make sure to save this backup (this step is also important).

Step 4: How to send/receive Bitcoin
How to receive Bitcoin
- Tap the wallet you want to use to receive Bitcoin on the home screen.

- Tap "Receive" -> Copy the address or provide the QR code to the sender.


How to send
- Tap the wallet you want to use to send Bitcoin on the home screen.
- Tap "Send" -> Enter the amount of Bitcoin you want to send -> Paste the recipient's address or scan their QR code -> Review the transaction you want to send. If the transaction is correct, tap continue -> Tap sign.


- Wait for transaction confirmation. Done.

Advantages
- Easy to use and portable.
- High security due to no screen, no buttons, and no internet connection, making the risk of hacking relatively low.
- Affordable and accessible.
- Compatible with multisig systems (a significant advantage).
Disadvantages
- If the card is lost and no backup file was created = funds are lost and cannot be recovered.
- Risk if not stored properly, e.g., accidental NFC scan (should use an RFID-blocking sleeve or protective case).
- No traditional seed phrase for recovery, so appropriate backup plans are essential, such as using it with multisig.
- Should be used with other keys in a multisig setup to reduce risk.
Who is it suitable for?
- Those who want to start using a hardware wallet that is simple and affordable.
- Individuals who prioritize mobile use and portability.
- Those who are starting to take self-custody seriously.
- Multisig users who want an additional portable key.
Conclusion
TapSigner is one of the hardware wallets that I believe is "simple yet powerful." It's easy to use, convenient to carry, and connects seamlessly with apps like Nunchuk. It's suitable for beginners or those who want to gradually take self-custody of their crypto more seriously. While there are some limitations regarding storage and backup, if used with discipline, it's a very interesting and "worthwhile" tool. I hope this article is helpful. Thank you for following.

แชร์:
OneKey Classic 1S 2025 Setup Guide