


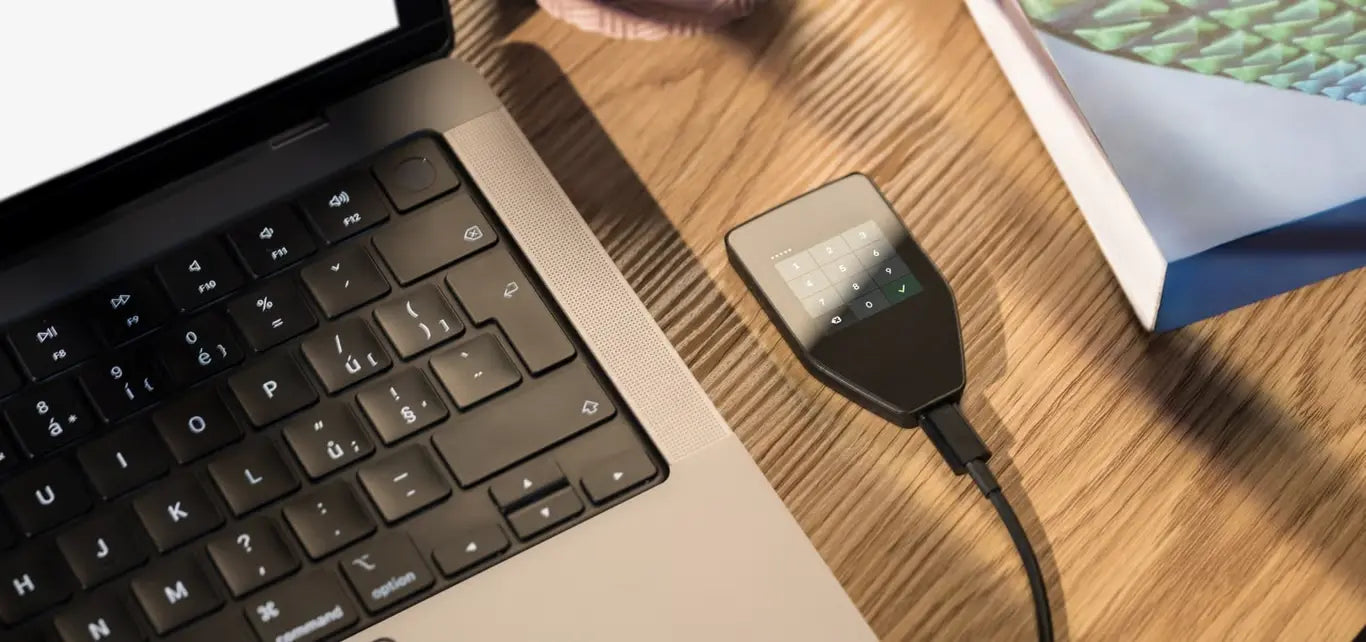
Transferring coins from Trezor (Hardware Wallet) back to Bitkub (Exchange) is usually done for the purpose of selling coins or exchanging them for other assets on the Exchange. This return transfer involves different steps than transferring from an Exchange, as you will need to "Sign" the transaction via your Trezor device to confirm that only you have authorized the transfer.
This guide will walk you through each step in detail to ensure your coin transfer is correct and secure.
Part 1: Preparing the Destination Address (from Bitkub)
First, you need to generate a Deposit Address on Bitkub to enter into Trezor Suite.
1.1 Copy the BTC Deposit Address on Bitkub
- Open the Bitkub app.
- Go to the “Wallet” menu.
- Go to the "Deposit" menu.
- Select the coin you want to receive. In this case, select “BTC”.
- Check the network: Make sure the displayed network is "Bitcoin" only. Currently, Bitkub only supports the Bitcoin network.
- Copy the Address: Bitkub will display the BTC Deposit Address for depositing coins (starting with bc1…). Copy this Address and prepare it. Or click to save the image below to save the QR Code for receiving coins.

Part 2: Initiating Transfer from Trezor Suite
Now we will enter Trezor Suite to initiate the coin transfer from Trezor.
2.1 Go to the "Send" page on Trezor Suite
- Connect your Trezor device to your computer, open Trezor Suite, and select the Bitcoin account where you hold your coins.

- Click the "Send" tab at the top of the screen.

2.2 Enter transfer details
- Recipient Address: Paste the BTC address you copied from Bitkub.
- Caution: You should check the first 5 characters and the last 5 characters of the address you copied to ensure they match the address from Bitkub, to prevent errors.
- Amount: Enter the amount of BTC you want to transfer back to Bitkub.
- Transaction Fee: Select the fee you desire (higher fee means faster transfer). Trezor Suite will recommend a suitable fee. Initially, we recommend "Normal".
- Click "Send": Click the send button to prepare the transaction.

2.3 Confirm the accuracy of the details on Trezor
- (Very Important) You must verify that the destination Address on the Trezor device screen matches the BTC deposit Address in Bitkub 100%. If the Address is changed by malware on your computer, you will be able to catch it at this step, because the Address on the Trezor device will still be the correct Address.
- Confirm Address

- Confirm the amount of coins to send

- Confirm the total coin amount and the fee.

- Confirm transaction signing

2.4 Review final transaction details on Trezor Suite and click send

2.5 Check for success in Trezor Suite

Once your transaction shows “Sent BTC” and “Confirmed”, you have initially succeeded! Your digital assets have been successfully sent to the Exchange.
You just need to check the status on Bitkub one last time to confirm the transfer and its completion.
Part 3: Verify Success on Bitkub
- Receive coins on Bitkub: Once the Bitcoin network confirms the transaction as required by Bitkub (usually takes 10-30 minutes) (depending on the transaction fee), the BTC coins will appear in your Wallet on the Bitkub app.

You did it! This proves that you can truly control your coins and transfer them to the Exchange securely.

แชร์:
The hands-on guide! Safely transfer BTC from Trezor to Binance TH
A Hands-On Guide! Securely Transferring BTC from OneKey to Binance Global