


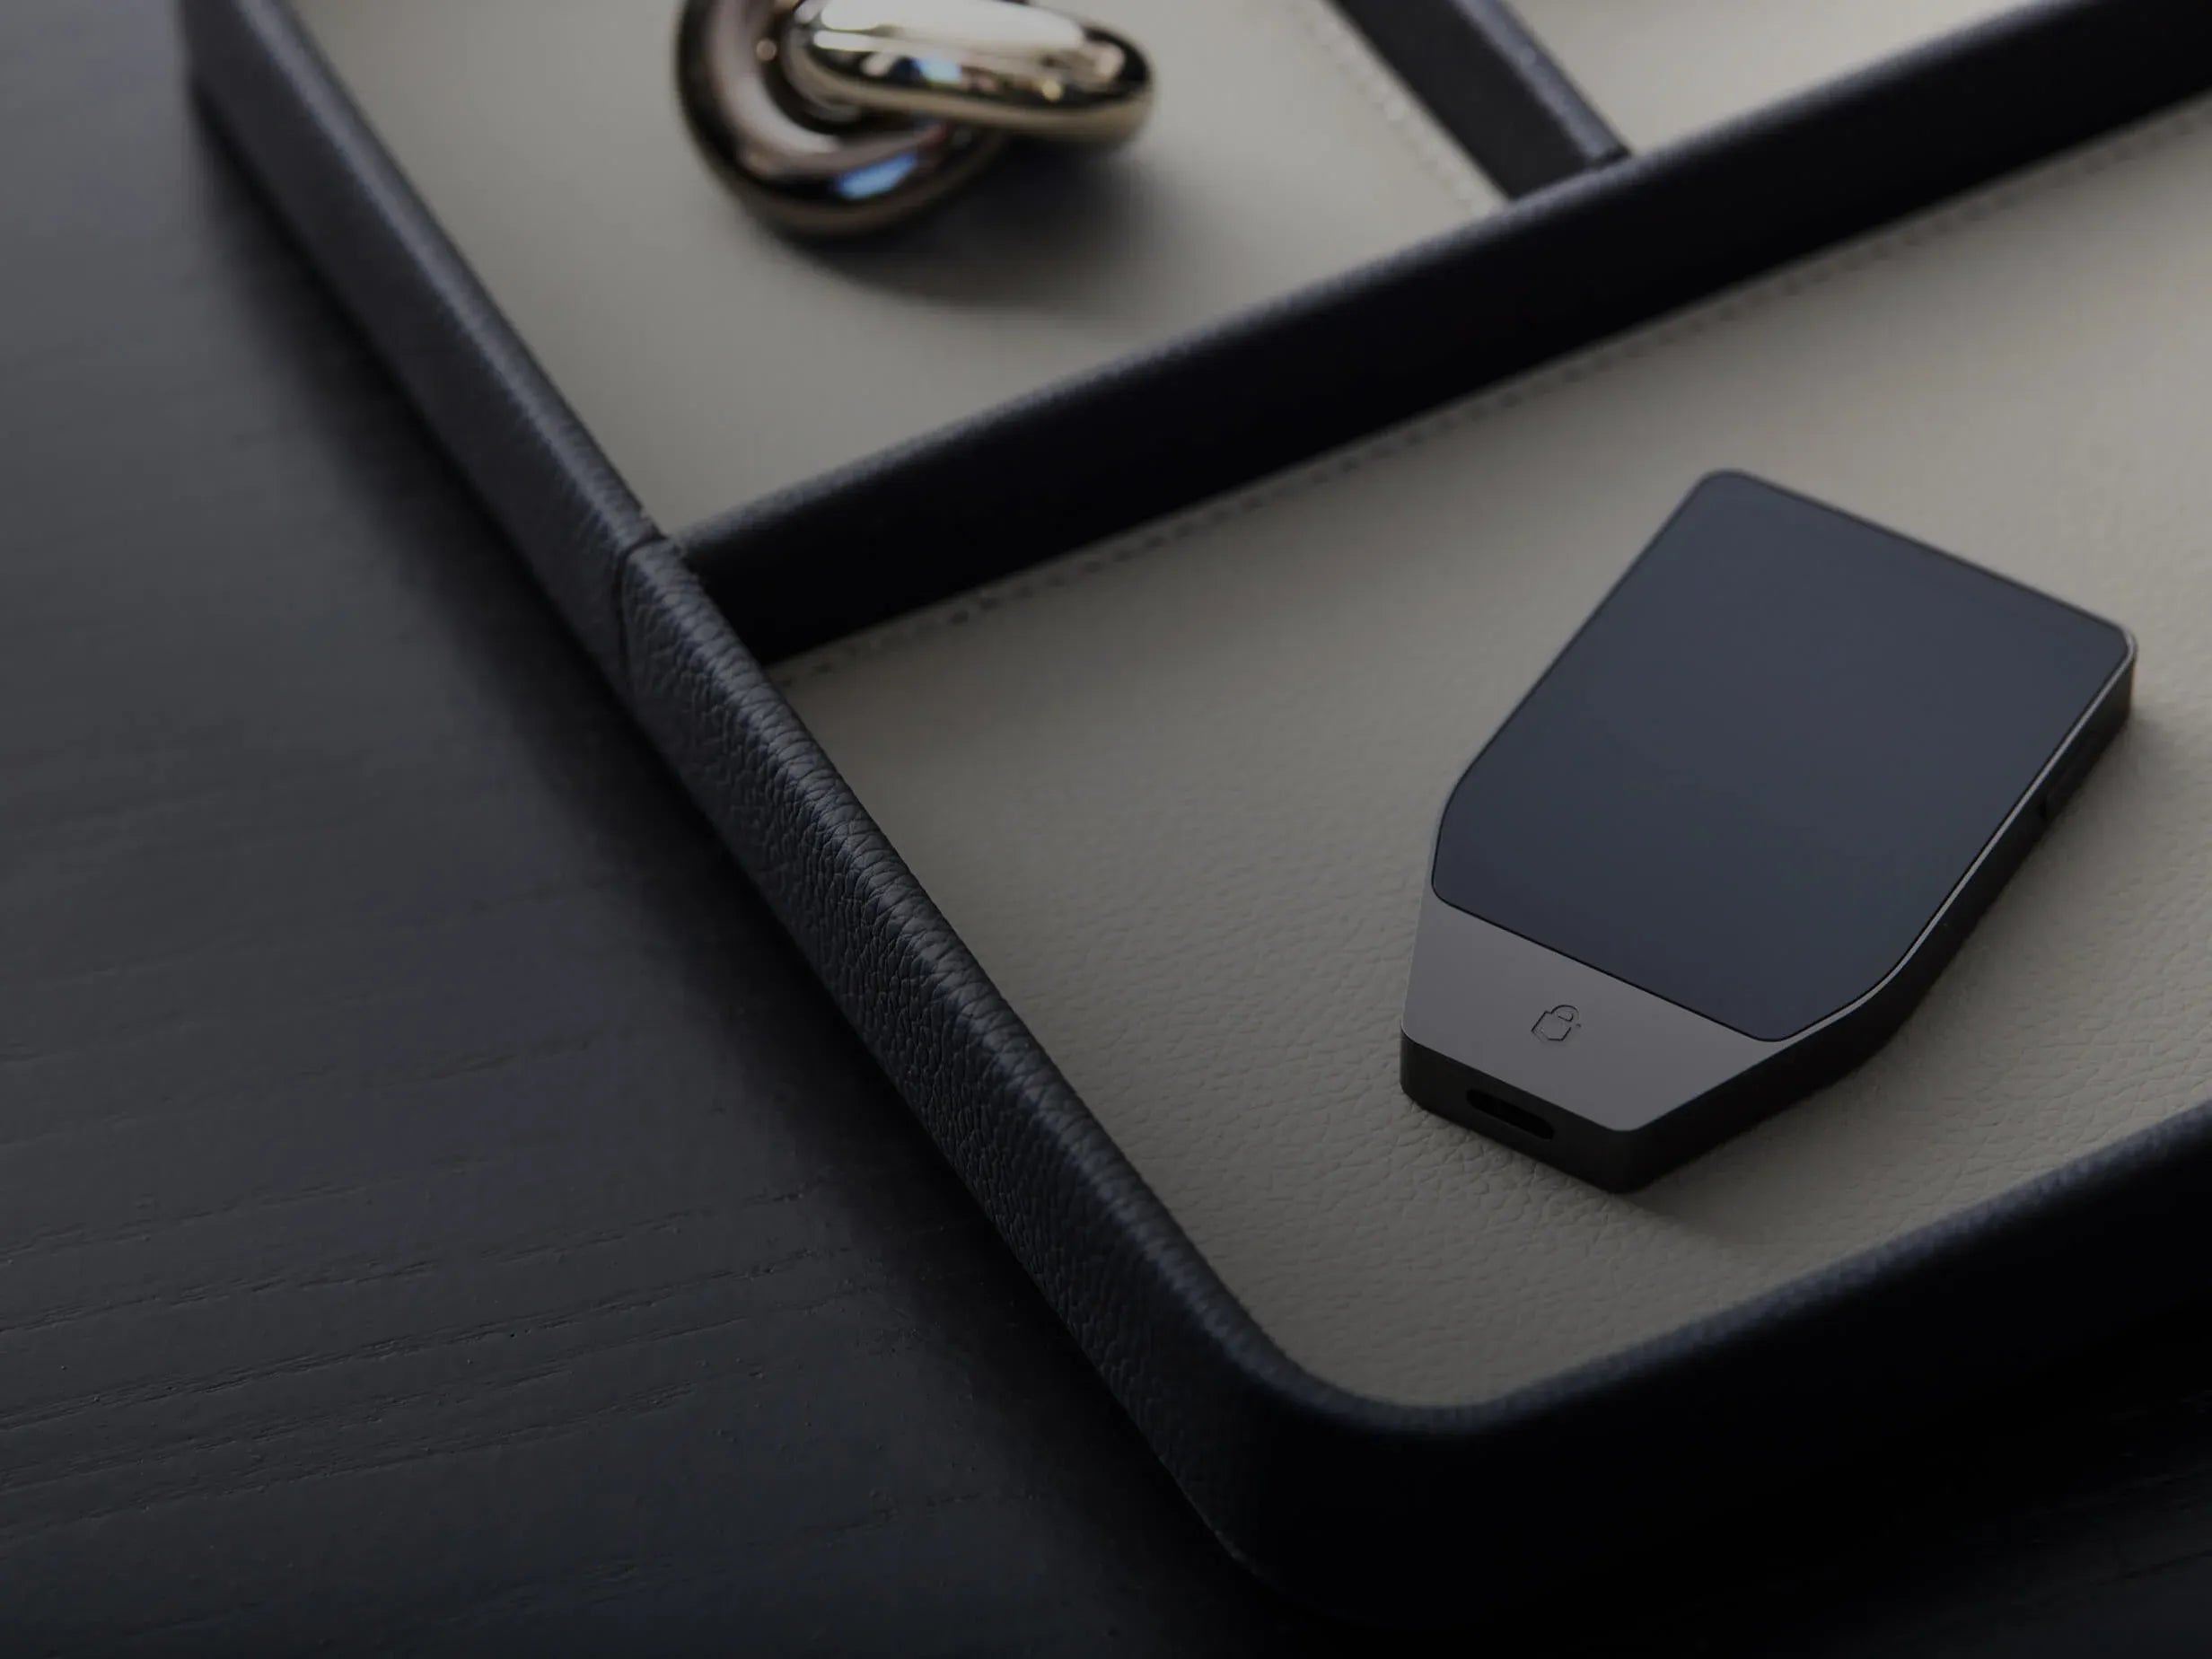
- Most Important Warning Before Performing a Factory Reset!
- Steps to Reset Trezor Safe 7 via Bootloader Mode
- 1. Press and hold the Power button to enter Bootloader
- 2. Tap the menu icon in the top right corner
- 3. Select Factory reset
- 4. Press the Reset button to confirm data erasure
- 5. Select Restart to reboot the device and get it ready for use
Hello, fellow Trezor and Self-Custody users!
After I showed you how to reset Trezor Safe 3 and Trezor Safe 5, let's continue with the latest flagship model, Trezor Safe 7.
The Trezor Safe 7 has upgraded features for even greater convenience, especially the built-in Power button, which makes the process of powering on and entering Bootloader Mode slightly different from previous models. If you happen to forget your PIN or want to erase data on the device to create a new wallet, you can easily follow the Factory Reset steps via Bootloader Mode as described in this guide.
Most Important Warning Before Performing a Factory Reset!
🚨 WARNING: Performing a Factory Reset on Trezor Safe 7 will permanently delete all data on the device, including Seed Phrase, PIN, and Firmware.
If there are still assets remaining in this wallet, please ensure that you have correctly backed up your Seed Phrase (Recovery Seed). Because without a backup Seed Phrase, your crypto assets will not be recoverable.
Steps to Reset Trezor Safe 7 via Bootloader Mode
Since the Trezor Safe 7 has an added Power button, entering Bootloader Mode is more convenient without having to disconnect or reconnect the USB cable. Follow these 5 short steps:
[Step 1] Press and hold the Power button until the Bootloader Menu screen appears.
↓
[Step 2] Tap the menu icon (3 lines) in the top right corner of the screen.
↓
[Step 3] Tap to select the Factory reset menu.
↓
[Step 4] Read the security warning → Press the Reset button to confirm.
↓
[Step 5] Screen displays 'Trezor reset successfully' → Tap Restart.
1. Press and hold the Power button to enter Bootloader
Press and hold the Power button until the Bootloader Menu clearly appears on the screen.
2. Tap the menu icon in the top right corner
When on the Bootloader screen, look at the top right corner where there is a menu icon (3 lines). Tap this icon.
3. Select Factory reset
A list of settings options will appear. Tap on "Factory reset".
4. Press the Reset button to confirm data erasure
The screen will prompt you to confirm the device reset and warn about the risk of all data being deleted. After verifying that your backup Seed Phrase is ready, tap the Reset button to confirm.
5. Select Restart to reboot the device and get it ready for use
Once the data erasure process is complete, the screen will display "Trezor reset successfully." Tap the Restart button, and the device will reboot and be ready to connect to Trezor Suite to create a new wallet or restore an existing one.


แชร์:
Factory Reset (Wipe Device) Guide for All Trezor Models
Easy to-Understand Guide to Activating Passphrase on OneKey