


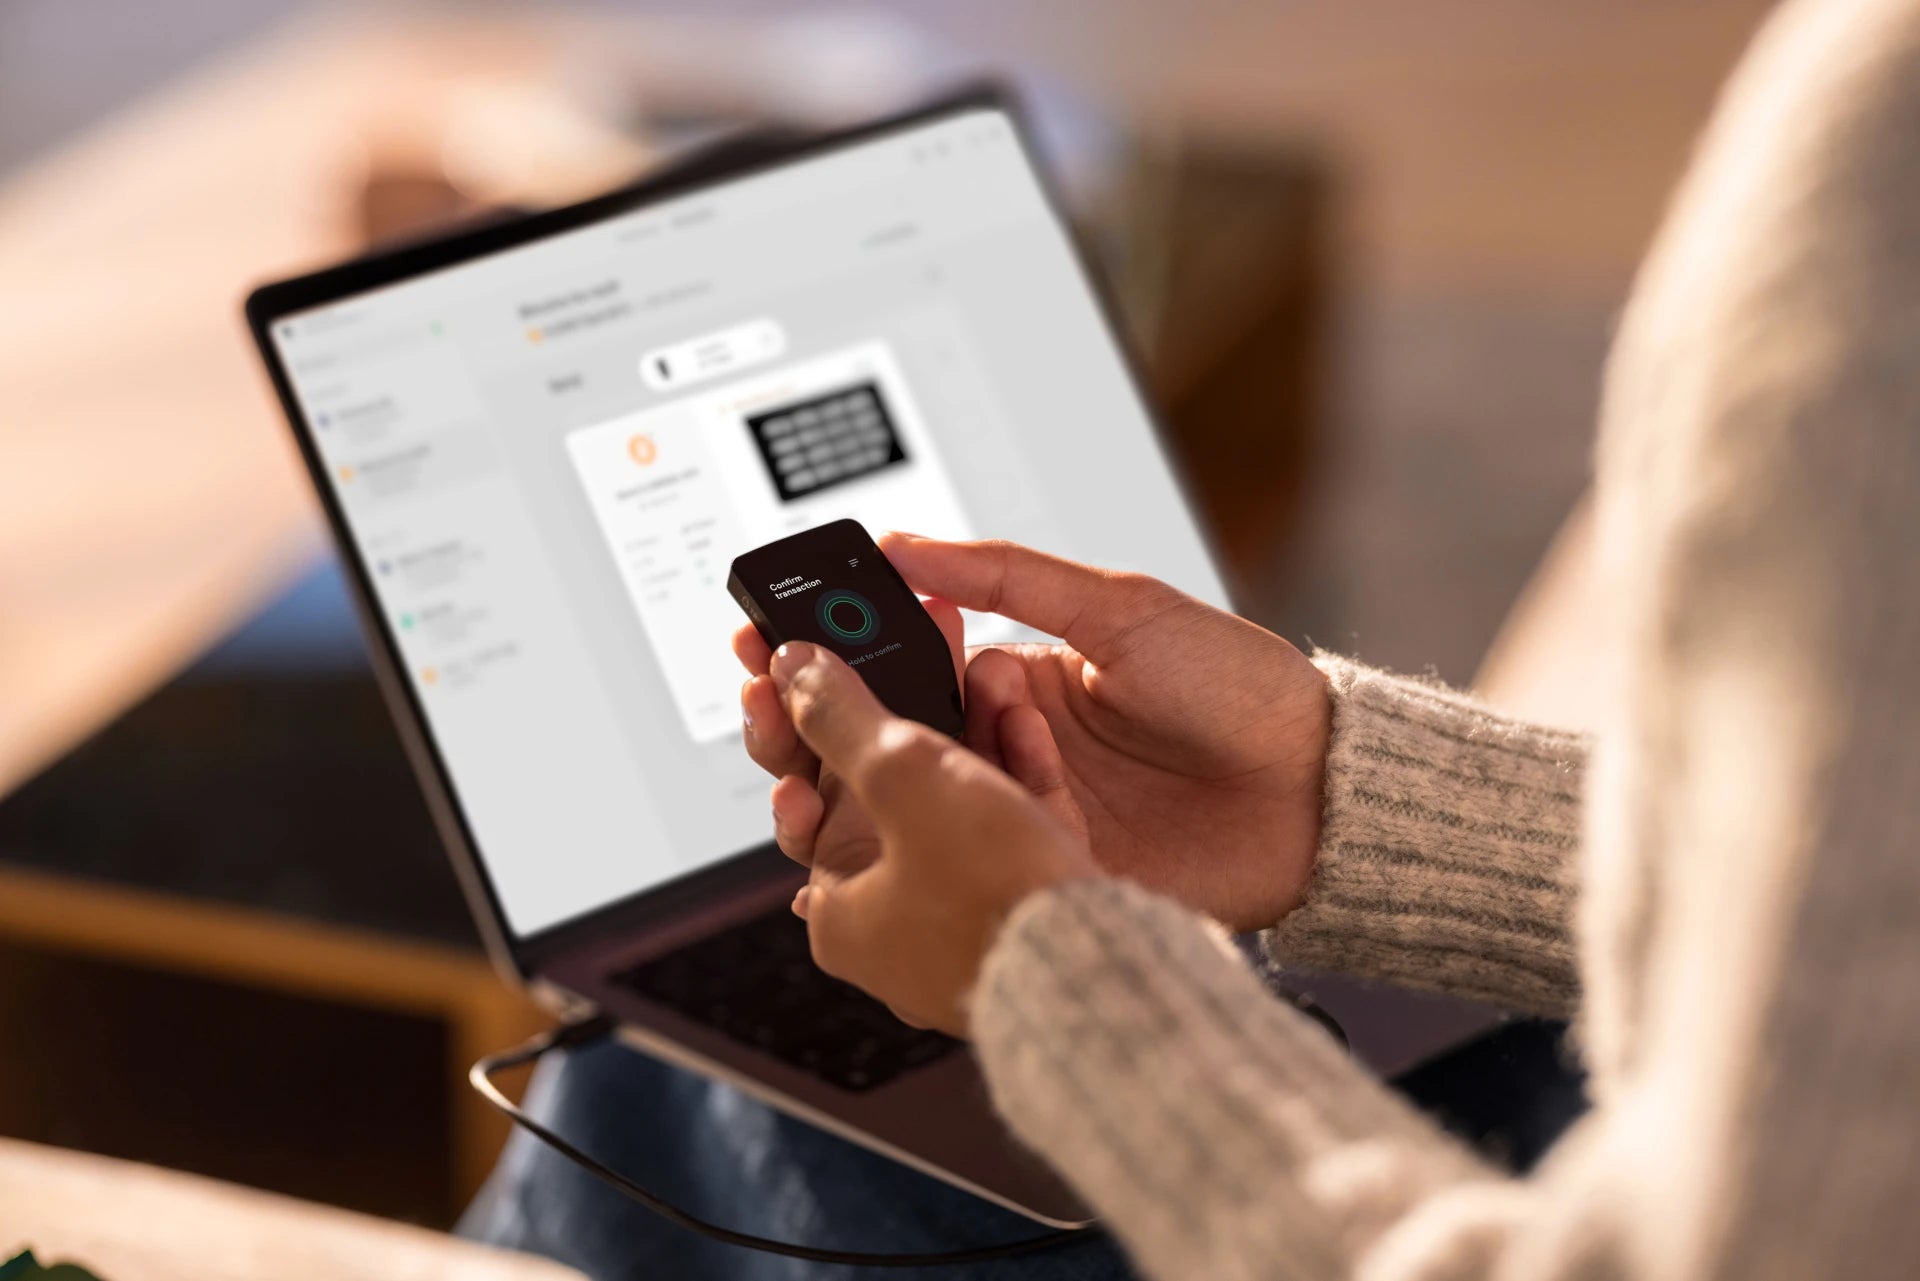
- The Most Important Warning Before Starting a Factory Reset!
- How to Factory Reset (Wipe Device) via the Trezor Suite app (works with all Trezor models)
- 1. Access the Danger area menu in Trezor Suite
- 2. Confirm to erase all data on the computer screen
- 3. Confirm Wallet backup readiness
- 4. Approve the wipe on the Trezor device screen
- 5. Data wiped successfully (Trezor wiped successfully)
- How to Factory Reset directly on the Trezor Safe 7 device (Device Settings)
- 1. Unlock Trezor Safe 7 for use
- 2. Enter the Settings menu on the device
- 3. Select Device and press Factory reset
- 4. Confirm device wipe
- Summary
Hello, Trezor and Self-Custody friends!
Performing a Factory Reset or Device Wipe means resetting the device to its factory default settings. This might be done to prepare the device for transfer, to switch to a new Seed Phrase, or simply for peace of mind. This process can be easily done through the Trezor Suite program (supporting all Trezor models). For Trezor Safe 7 users, it's also possible to wipe the device directly from the Settings menu on the device itself.
The Most Important Warning Before Starting a Factory Reset!
🚨 WARNING: Performing a Factory Reset, whether through Trezor Suite or directly on the device, will permanently delete all data from the device, including the Seed Phrase, PIN, Passphrase Settings, and device name. If you still have assets in this wallet, please ensure 100% that you have correctly backed up your Seed Phrase (Recovery Seed). Because if you wipe the data without a Seed Phrase backup, your crypto assets will be permanently lost and cannot be recovered!
How to Factory Reset (Wipe Device) via the Trezor Suite app (works with all Trezor models)
This is the standard method that supports all Trezor models, including Trezor Model One, Trezor Model T, Trezor Safe 3, Trezor Safe 5, or Trezor Safe 7. It is done via the "Wipe device" menu in the Trezor Suite app as follows:
[Step 1] Go to Settings (⚙️) menu → Select Device tab → Scroll down to Danger area → Click Wipe device
↓
[Step 2] Confirm the Erase all data popup → Click the I understand button
↓
[Step 3] Confirm the Wallet backup popup → Click the I understand button again
↓
[Step 4] Approve on Trezor device → Hold the button (HOLD TO CONFIRM) to confirm the wipe
↓
[Step 5] The screen shows Trezor wiped successfully → Click Back to Dashboard to finish
1. Access the Danger area menu in Trezor Suite
Connect your Trezor to your computer with a USB cable and enter your PIN to unlock and access the Trezor Suite app as usual.
Then click on the Settings (⚙️) icon in the bottom left corner -> select the Device tab -> scroll down to the bottom to the Danger area section, then click the red Wipe device button.

2. Confirm to erase all data on the computer screen
A popup on the Trezor Suite app will display the initial risk warning "All data on your Trezor will be erased. This action can't be undone." Click the red "I understand" button.

3. Confirm Wallet backup readiness
A popup will display a second risk warning: "Make sure you have your wallet backup. You won't be able to recover access to your assets without it." To ensure you have backed up your Seed Phrase correctly, click the red "I understand" button again to confirm.

4. Approve the wipe on the Trezor device screen
The request will be sent to your Trezor device.
- The device screen will show "WIPE DEVICE - Do you really want to wipe the device?" Press "Next" to confirm.
- Then the device screen will show "WIPE DEVICE - All data will be erased. HOLD TO CONFIRM." Press and hold the button on the device (HOLD TO CONFIRM) to approve the final data wipe.

5. Data wiped successfully (Trezor wiped successfully)
Once the device has finished wiping the data, a green checkmark and the message "Trezor wiped successfully" will appear on the Trezor Suite app screen.

You can click the "Back to Dashboard" button to return to the main screen and immediately create a new wallet or recover an existing one.
How to Factory Reset directly on the Trezor Safe 7 device (Device Settings)
For Trezor Safe 7 users whose device is active and they remember the PIN, a Factory Reset can be performed directly from the device's touchscreen without needing a computer: [Step 1] Turn on the Trezor Safe 7 → Enter the PIN to unlock and access the main screen.
↓
[Step 2] Swipe the screen to enter the Settings menu (Device settings)
↓
[Step 3] Scroll to the Device section → Select Factory reset
↓
[Step 4] Read the security warning screen → Press the Reset button on the screen to confirm
1. Unlock Trezor Safe 7 for use
Press the Power button to turn on your Trezor Safe 7 and enter your PIN on the touchscreen to access the main screen.
2. Enter the Settings menu on the device
Swipe the touchscreen to select the Settings menu on the device.
3. Select Device and press Factory reset
Scroll down the menu to select "Device," then tap "Wipe Device."
4. Confirm device wipe
A red screen will display a warning that all Seed data and memory will be erased. Once you have verified the readiness of your backup Seed Phrase, confirm to reset. The device will then erase all data and restart to the initial setup screen immediately.
Summary
That concludes the detailed guide on how to perform a Factory Reset (Wipe Device) using the Trezor Suite app. I hope this guide helps you confidently and securely reset your device. The most important thing to always remember is to "ensure your backup Seed Phrase is legible and stored correctly before pressing Wipe," as this is the only key that can bring your funds back.


แชร์:
Step-by-Step Guide to Wiping Your Trezor Safe 5 (If You Forgot Your PIN)
How to Wipe a Trezor Safe 7 Step-by-Step (Forgot PIN)