


- Part 1: Preparing Your Hardware Wallet (OneKey)
- 1. Prepare OneKey and Create an Address
- 2. Click "Receive"
- 3. Confirm on Device (Very Important)
- 4. Copy Address
- Part 2: Initiating Transfer from Bitkub (General Steps)
- Choosing the Bitcoin Network
- 1. Select Bitcoin Network (BTC)
- 2. Select Other Network
- 3. Select Lightning Network (LN)
- Initiate Transfer from Bitkub
- Go to "Withdrawal" Page on Bitkub
- Entering BTC Transfer Information on Bitkub
- Identity Verification Before BTC Transfer on Bitkub
- Part 3: Checking Transactions on OneKey App
Enhance Security with a Hardware Wallet
You've chosen the best path for self-custody! Moving digital assets from an Exchange (InnovestX) to a Hardware Wallet means transitioning from "online" storage to "offline" storage (Cold Storage), which is the highest security standard in the crypto world.
This guide will walk you through each step in detail to ensure your coin transfer is accurate and secure.
Part 1: Preparing Your Hardware Wallet (OneKey)
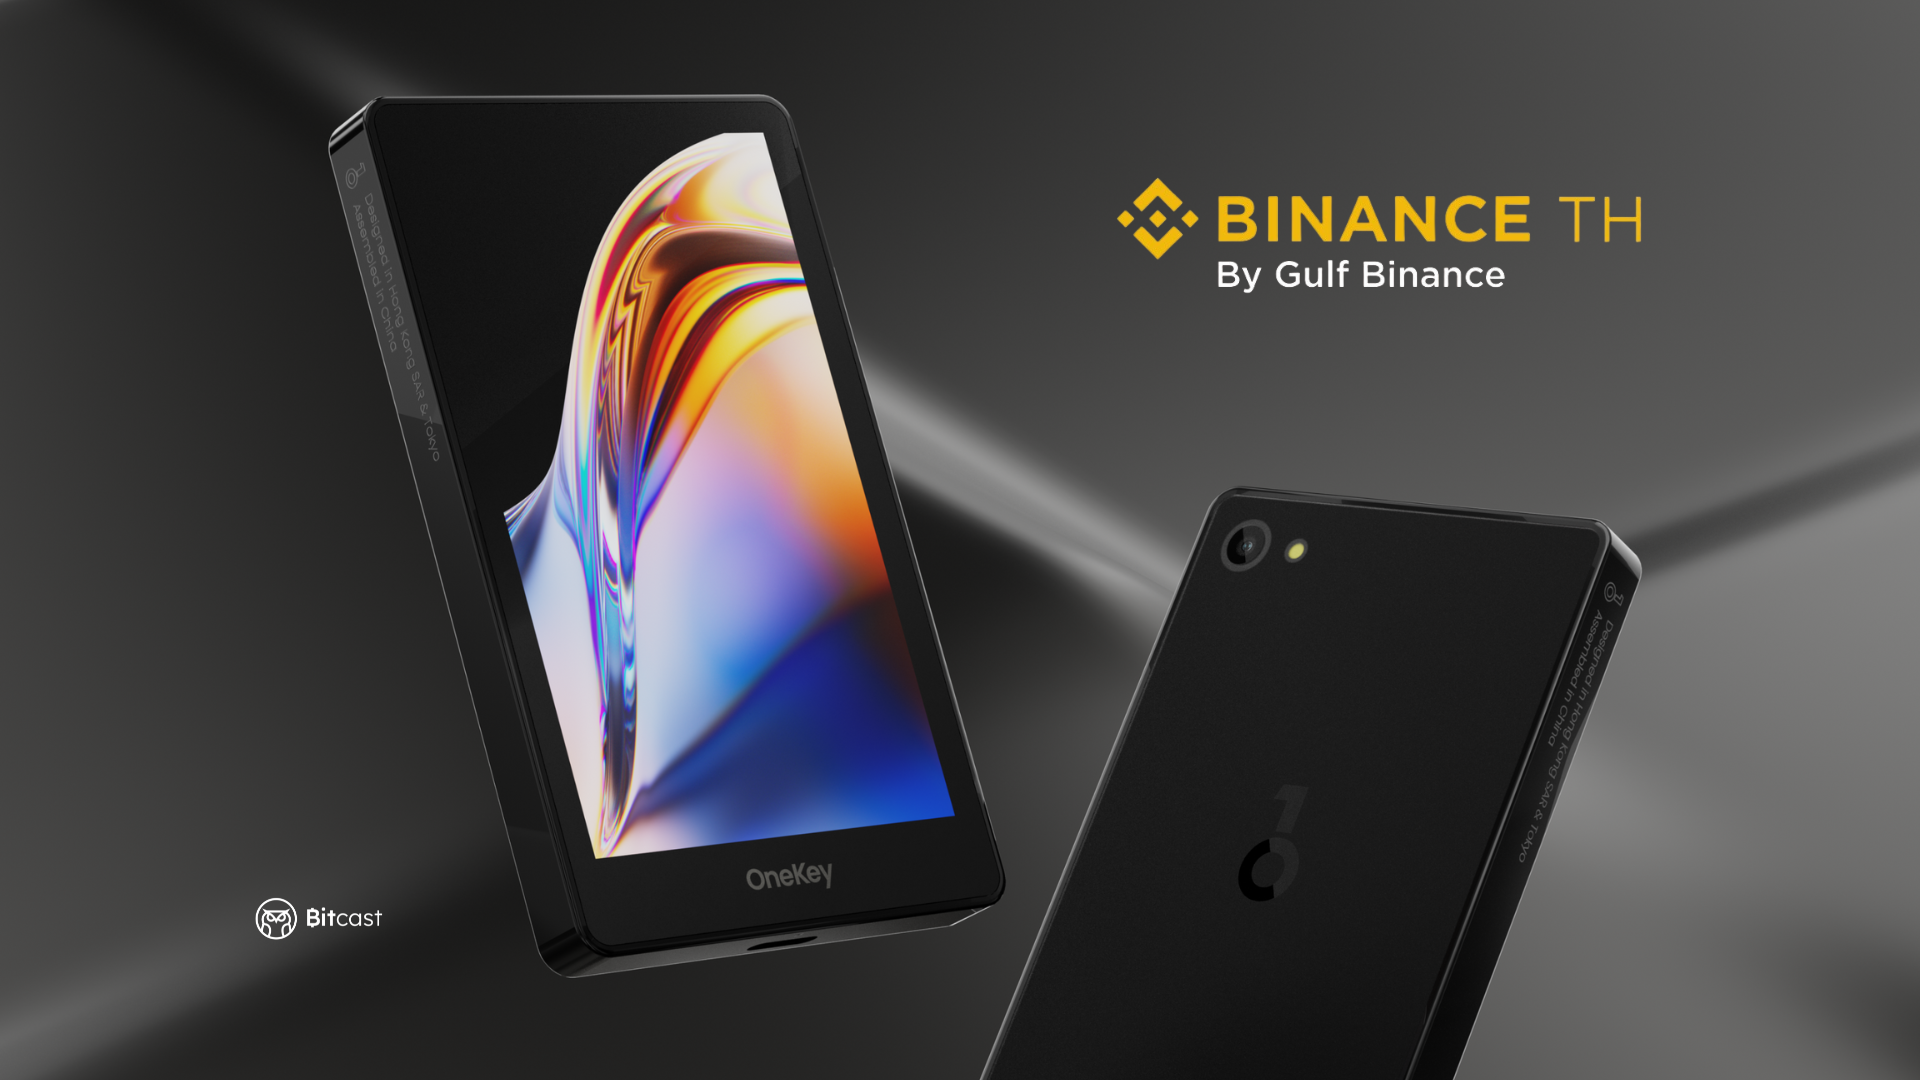
Before transferring Bitcoin from an exchange to a Hardware Wallet and into the Binance app, we need to use OneKey to create an "Address (receiving address)" first (If you have other Hardware Wallet models, feel free to use them, but in this guide, I will use OneKey as an example for receiving coins).
1. Prepare OneKey and Create an Address
Open the OneKey App, connect your OneKey device (with a created Seed Phrase) to a computer or another device like a smartphone or tablet, then open the OneKey App program on the desired device.

2. Click "Receive"
- Select the desired coin account (Bitcoin)
- Click the "Receive" button to create a receiving address
- Select the coin you want to receive, choose "BTC"

3. Confirm on Device (Very Important)
The OneKey App will display the Address. You must confirm that the address on your computer screen matches the address on your OneKey device screen 100%.
This is to protect against malware that might change the Address on your computer screen without you knowing.


4. Copy Address
Copy the confirmed Address from the OneKey App. This completes the preparation of your "Address (receiving address)" for receiving Bitcoin.

Part 2: Initiating Transfer from BinanceTH (General Steps)
Choosing the Bitcoin Network
1. Select Bitcoin Network (BTC)
If you want to store Bitcoin, you must use only the Bitcoin Network (BTC). This is because Bitcoin on other networks is not true Bitcoin but Wrapped Bitcoin (WBTC). Therefore, if you want to store actual Bitcoin, you must select the Bitcoin Network.
2. Select Other Network
Bitcoin on other networks is not Bitcoin, but Wrapped Bitcoin (WBTC). The question is, what is Wrapped Bitcoin (WBTC) Token?
The principle of WBTC is to collateralize actual Bitcoin and create WBTC in an equivalent amount (though it might not be exactly equal in reality), similar to creating stablecoins like USDT and USDC by collateralizing fiat money and creating coins in an equivalent amount.
So, is WBTC Token Bitcoin?
The answer is no, it's not true Bitcoin. To make it simple, WBTC Token is like a gold certificate. When you buy gold, do you want gold or a gold certificate? In the past, gold certificates were useful because they granted ownership and made transfers easier.
Therefore, we need to consider our purpose for buying Bitcoin. If we want to use it as collateral for other assets or speculate for short-term gains, then buy WBTC Token. But if we want to hold actual Bitcoin, then buy Bitcoin on the Bitcoin Network.
Common formats:
- BEP20 (BSC): BTCB
- ERC20 (Ethereum): WBTC
- Solana: BTC (Wrapped)
3. Select Lightning Network (LN)
What is Lightning Network?
The Lightning Network (LN) is a Layer 2 network on top of the Bitcoin Blockchain (Layer 1), operating on a separate layer (Off-chain) rather than directly on Layer 1.
The Lightning Network was designed to solve the scalability problem (delay in processing massive transactions) on the Bitcoin Blockchain, allowing for faster and cheaper BTC transfers. It is gaining popularity and is supported by more exchanges.
The Lightning Network conducts off-chain transactions through what are called Payment Channels. Once a channel is established, two parties can exchange coins by creating the channel and signing transactions that update the channel's balance. This requires both parties to sign and approve all transactions within the channel.
Read more here
Initiate Transfer from Binance
Entering BTC Transfer Information on Binance TH
- Open the Binance TH app
- Go to the "Wallet" menu at the bottom right to view digital asset list
- Select "Withdraw" to send Bitcoin
- Select the coin you want to transfer, choose "BTC"

Entering BTC Transfer Information on Binance TH
- Address: Paste the BTC address that you copied and confirmed from Trezor (check the first 5 and last 5 characters to ensure they match).
- Network: Select Bitcoin Network or BTC
- Amount: Enter the amount of BTC you wish to transfer or withdraw
- Check the fees and the amount of coins you will receive, then click the "Withdraw" button.

Checking BTC Transfer Information on Binance
- Re-check the “Address (destination address)” (very important!). If correct, you can click “Confirm.”
- Click “Another Verification Method” to verify your identity using your set system. For the easiest and fastest option, select “Touch ID/Face ID.”
- Otherwise, if you choose another type of identity verification, select as per your settings.
- Click “Send Code” to receive an OTP via the registered phone number.
- Click “Send Code” to receive an OTP via the registered email.
- Open the Google Authenticator app, enter the code from the “Google Authenticator” app into the “Binance” app, and click “Submit.”


Post-Bitcoin Withdrawal Process on Binance
- Once confirmed, the system will show "Withdrawal Processing," meaning the transaction is being processed.
- Wait for the system to transfer the coins for a while (approximately 10-30 minutes), then check the transaction status in the "View History" menu.
- If the status shows "Completed," it means the coins have been approved for withdrawal from the Exchange, but may not yet be transferred to your Address. It might take another 10-15 minutes.
- Check the transaction status at the "Destination Address" on your Trezor (Hardware Wallet) app to see if you have received the coins.
- On Binance TH, the transaction will be in "Processing" status and will be complete when it shows "Completed" once the transaction is approved by Binance TH.

Part 3: Checking Transactions on OneKey App
Status in OneKey App: Once the transaction is confirmed, you will see the transferred coin amount appear in the OneKey App (this may take approximately 10-30 minutes, depending on each Exchange and the time).

แชร์:
Guide to Transferring Bitcoin from Binance to a OneKey Hardware Wallet
Guide to Transferring Bitcoin from InnovestX to Trezor Hardware Wallet