


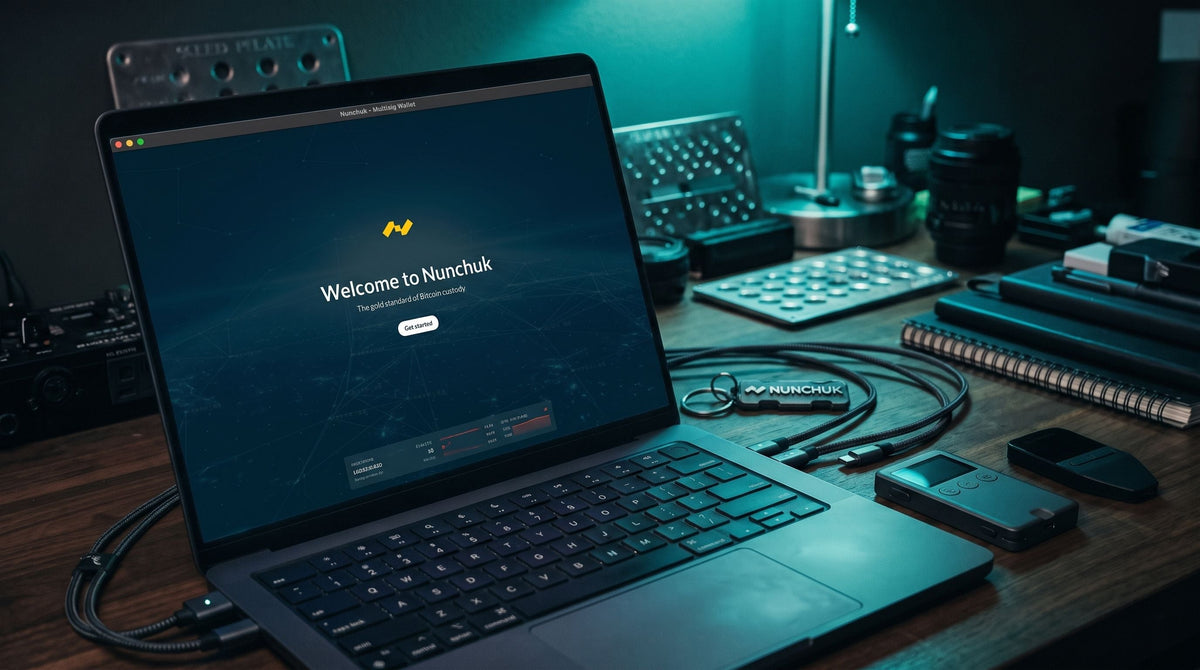
Summary: Setting up a Multisig wallet on the Nunchuk Desktop application is divided into 2 main steps: 1. Add Keys to import the public key (xPub) from each hardware wallet into the application. 2. Create Wallet to set the signature threshold, such as 2-of-3 on the Native SegWit standard, and then link the registered keys together.
- Understanding How Nunchuk Works Before You Start: Separating "Keys" from the "Wallet"
- ⚠️ The Most Important Warning Before Starting Multisig Setup
- Steps for Setting Up Multisig on Nunchuk Desktop (3 of 3 ; Trezor, Onekey, Jade)
- Part 1: How to Add Keys from a Hardware Wallet to Nunchuk
- 1.1 How to Add a Trezor Key (via USB Cable)
- 1.2 How to Add a OneKey Key (via USB Cable)
- 1.3 How to Add a Blockstream Jade Key (via Air-Gapped QR Code)
- Part 2: How to Create a Multisig Wallet and Link Keys (Create & Configure Wallet)
- Summary
- Common Troubleshooting Tips
- 1. Press the Refresh devices button, but the application does not detect the Trezor or OneKey
- 2. The Blockstream Jade QR Code fails to scan, or scanning it results in an invalid path error
- Frequently Asked Questions (FAQ)
After you have learned what beginners should know before using a Multisig Wallet and understand the importance of using Multi-Vendor Multisig to prevent Supply Chain Attacks, the most common question we receive is: "Once I have purchased all the devices, where do I click to link them together on my computer?"
The concern for those opening the Nunchuk Desktop application for the first time often stems from looking for the Create Wallet button and trying to connect the devices immediately, but not knowing where to add the keys first, or seeing unfamiliar device names after connecting different brands and not daring to click further. Today, we have summarized the step-by-step setup process that you can follow click by click.
Understanding How Nunchuk Works Before You Start: Separating "Keys" from the "Wallet"
Before you start creating a wallet in the Nunchuk application, we want you to understand the basic structure of how the app works first. Simply imagine it like going to open a "joint account with your partner or someone in your company" at the bank. The process is clearly divided into 2 parts that you must complete in order, as follows:
- Part 1: Add Keys: This is where you take each of your hardware wallets and register the public key template (xPub) so that the Nunchuk application recognizes which keys you have.
- Part 2: Create & Configure Wallet: Once you have all the keys you need, you then create the wallet and select the registered keys to link to that wallet according to your desired conditions, such as 2-of-3.
⚠️ The Most Important Warning Before Starting Multisig Setup
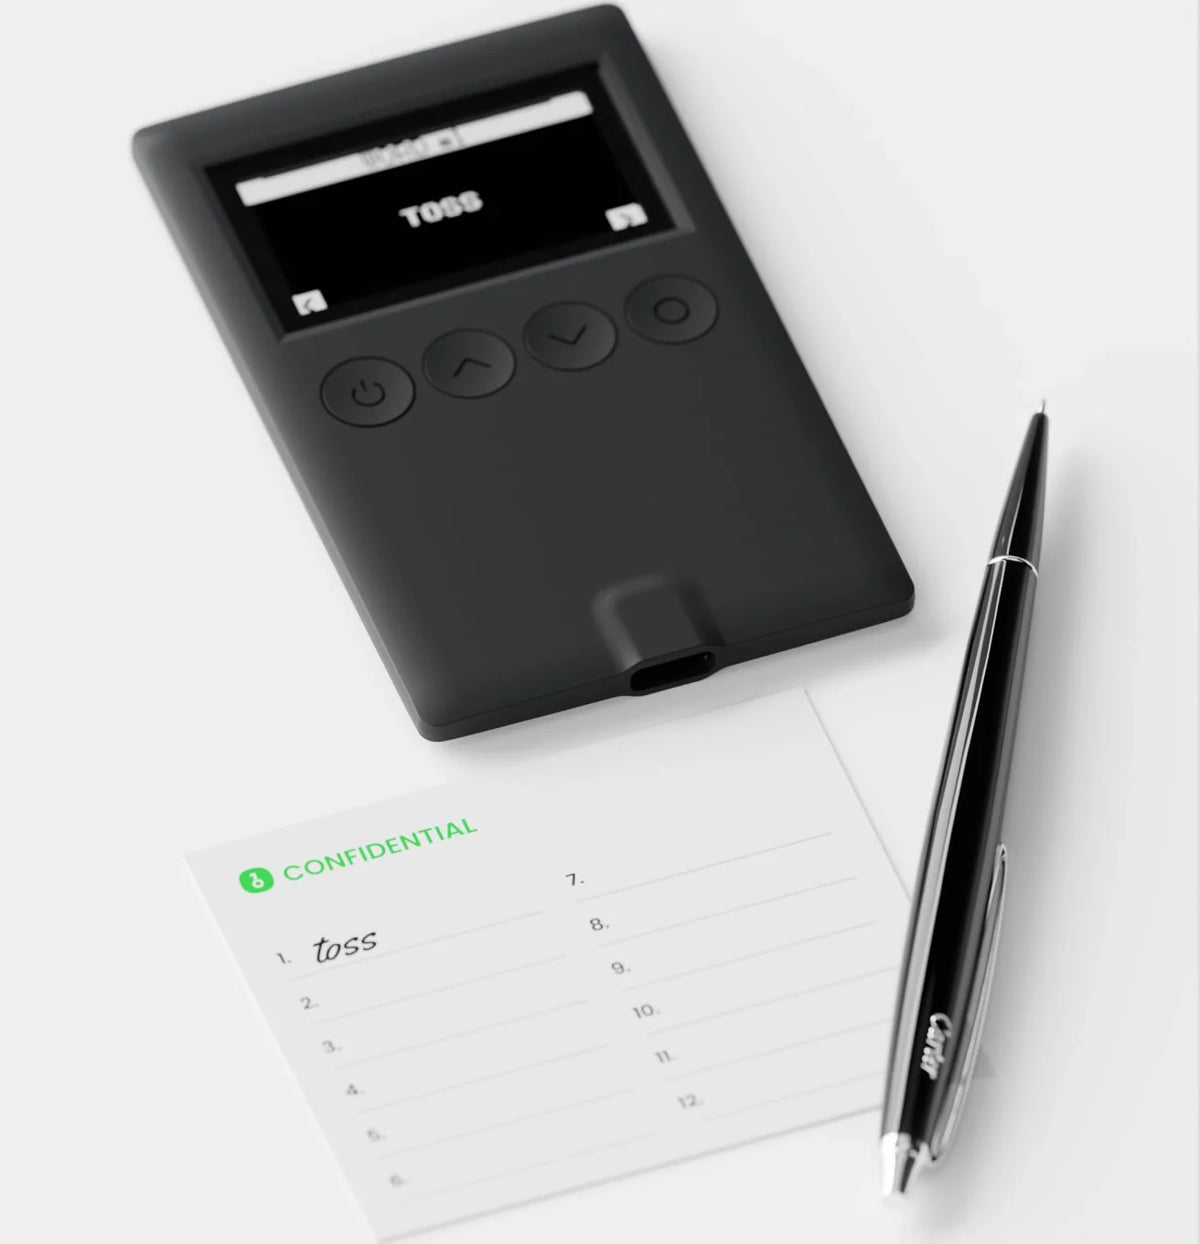
WARNING: Before linking each device to Nunchuk, you must always set up the initial configuration for each hardware wallet and back up the Seed Phrase (12 or 24 words) for every device separately first.
And most importantly, after creating the Multisig wallet, never forget to save the wallet configuration file (Wallet Configuration / BSMS File) as a backup alongside your Seed Phrase. In a Multisig system, having only the Seed Phrase may not be enough to recover the wallet in case of an emergency (learn more about BSMS file recovery from Nunchuk). You should also always test transferring a small amount of coins and practice recovery before transferring your main assets into the wallet!
Steps for Setting Up Multisig on Nunchuk Desktop (3 of 3 ; Trezor, Onekey, Jade)
Part 1: Add Keys to the Application (Add Keys)
├── Option 1: Trezor → Select Add a wired key (via USB cable)
├── Option 2: OneKey → Select Add a wired key (via USB cable / displays as Trezor)
└── Option 3: Blockstream Jade → Select via USB cable or Add an air-gapped key (scan QR in Multisig m/48'/0'/0'/2' mode)
↓
Part 2: Create a Multisig Wallet (Create Wallet)
└── Click + in the Wallets menu → Select Custom wallet → Name it and select Native SegWit
↓
Part 3: Set Conditions and Link Keys (Configure Wallet)
└── Select all keys (e.g., 3 keys) → Set Required keys (e.g., 2 keys) → Click Assign signer (Complete)
Part 1: How to Add Keys from a Hardware Wallet to Nunchuk
In this first part, you can choose to add keys from the Hardware Wallet brand you own. In this example, we will demonstrate all 3 popular brands for setting up a Multi-Vendor Multisig, namely Trezor, OneKey, and Blockstream Jade.
1.1 How to Add a Trezor Key (via USB Cable)
1. Click the Add Key button in the main menu: Open the Nunchuk Desktop application, then click the + sign in the Keys menu bar on the left side of the screen.

2. Read the instructions and click Continue: The system will display 2 Before You Start notification windows. Once you have read and understood them, click the Continue button.

3. Name the key and connect the device via cable: The system will prompt us to enter details and retrieve information from the device in the following order:
- Name the key in the Key name field: Type an easy-to-remember name for the key, such as Trezor
- Select the connection method: Click Add a wired key (since Trezor only supports connecting to Nunchuk Desktop via USB cable and does not yet support Bluetooth connection)
- Connect and discover the device: Plug the Trezor's USB cable into the computer, enter the PIN to unlock the device screen, then click the Refresh devices button on the program screen
- Select the key and confirm: Wait a moment for the system to check. Once the program detects and displays the Trezor key list, click to select that key, then click the Add key button
4. Verify the successfully added key information: After clicking add key, the screen will display the Trezor key details in the Keys menu bar, completing the process for the first device.

1.2 How to add a OneKey key (via USB cable)
1. Click the button to add the second key: Click the + sign in the Keys menu bar on the left again
2. Read the instructions and click Continue: When both (Before you start) notification windows appear, click the Continue button

3. Name the key and connect the OneKey device: Enter the details and retrieve the key information following these steps:
- Name the key in the Key name field: Type a clear name for the key, such as OneKey, to avoid confusion with the first device
- Select the connection method: Click Add a wired key (for use on Nunchuk Desktop, the OneKey device only supports USB cable connection and does not yet support Bluetooth connection)
- Connect and discover the device: Plug the OneKey's USB cable into the computer, unlock the PIN on the device to make it ready for use, then click the Refresh devices button
- Select the key and confirm: Wait a moment until the app displays the device's key list. Click to select that item, then click the Add key button
💡 Important note for OneKey users: When using OneKey on the Nunchuk Desktop program, the app will detect and display the device type as Trezor. Please do not worry that there is a problem with the device, as OneKey's open-source firmware architecture is developed based on Trezor's structure and has Trezor Compatibility Mode enabled by default, allowing leading Bitcoin management programs such as Nunchuk or Sparrow to communicate with the device via the same standard protocol smoothly and 100% securely as before.
4. Verify the successfully added key information: Once the system finishes saving the information, the OneKey key list we named will appear in the Keys list.

1.3 How to add a Blockstream Jade key (via Air-Gapped QR Code)
For Blockstream Jade, you can choose to add a key to Nunchuk in 2 ways: via USB cable (Wired) and via QR Code scanning camera (Air-Gapped).
If you want to connect via USB cable, you can follow the same steps as Trezor and OneKey above. But for those who want to enhance security to 100% wireless mode (without connecting the power cable to the computer at all), I have summarized the xPub retrieval method via QR Code screen for you to follow easily as follows:
1. Click the button to add the third key: Click the + sign in the Keys menu bar on the left
2. Read the instructions and click Continue: When both (Before you start) notification windows appear, click the Continue button
3. Name the key and select wireless mode on Nunchuk: In the key settings window, enter the following initial details:
- Name the key in the Key name field: Type a name for the key, such as Jade
- Select the wireless connection method: Click Add an air-gapped key

4. Set up the Blockstream Jade device to display the Multisig mode QR Code: Pick up the Blockstream Jade device and follow the sequence on the device screen as follows:
- Unlock the Jade device: Turn on the device and unlock it to enter the main menu screen (I recommend unlocking via QR Mode, such as QR PIN Unlock or SeedQR, to maintain the wireless operating status)
- Go to the xPub export menu: On the Jade device screen, go to the Options menu > select Wallet > then select Export Xpub

- Observe the initial value on the screen: When the screen is first opened, Jade will display a QR Code with details below indicating it is a Singlesig wallet on the standard m/84'/0'/0' path
- Change the settings to Multisig mode: Click the menu button on the device to change the Script / Wallet Type setting from Singlesig to Multisig
- Check the Multisig path status on the screen: The Jade screen will change to display a new set of QR Codes with details below indicating Multisig on the standard m/48'/0'/0'/2' path

5. Scan the QR Code into the Nunchuk program: Once the Jade screen displays the QR Code of the m/48'/0'/0'/2' path, return to click the Scan QR button on the Nunchuk Desktop program, then hold the Jade screen up to the computer's webcam. Once scanned successfully and the key details appear, click the Continue button
6. Verify the successfully added key information: The Nunchuk screen will display the Blockstream Jade key information added to the system, completing the process.

📌 Additional tips from Admin (based on actual testing): Although the Blockstream Jade can be successfully scanned when adding a key wirelessly (Air-Gapped), when Admin tested signing a real coin transfer transaction (Sign Transaction) on Nunchuk Desktop, it appears that it cannot successfully sign in Air-Gapped mode. (This may be due to limitations of the current software version, or it may be specific to Admin's machine environment, and there may be an update in the future to make it work more smoothly.)
Therefore, for the best reliability and convenience when actually using it, Admin recommends that friends add the key and use the Blockstream Jade on Nunchuk Desktop by connecting it via cable (Add a wired key), similar to Trezor and OneKey. It will be more stable and convenient.
Friends can use the above method to add the keys to the desired number for their own Multisig structure.
Part 2: How to Create a Multisig Wallet and Link Keys (Create & Configure Wallet)
Once we have registered all 3 keys in the Keys menu, the next step is to create a vault and link those keys together.
1. Click the button to start creating a new wallet: Click the + sign in the upper left corner, next to the Wallets heading

2. Select the custom wallet creation method: When the Create wallet window appears, click the Custom wallet heading

3. Name the wallet and select the Address format: The system will let us enter the desired wallet name in the name field, and for the Address type heading, select Native SegWit (which helps save the most on transfer fees and is the main standard in the industry). Then click Continue
4. Select the keys and set the minimum number of signatures (M-of-N): In the Configure wallet window, we set the wallet's security conditions as follows
- Check the keys you want to link: Click to select all the Hardware Wallet keys we just added in Part 1 to match the total number of keys in the circle, such as selecting all 3 for a 2-of-3 system
- Set the number of signatures used for transfer in the Required keys field: Adjust the number in the Required keys heading to match the minimum number of keys required to sign and approve transactions, such as if you want to create a 2-of-3 Multisig wallet, set Required keys to 2 and select all 3 keys
- Confirm the signer linking: Once you have checked that the list of keys and the number of signatures are correct, click the Assign signer button

5. Complete the Multisig wallet creation: The system will create a new Multisig wallet and display it in the Wallets menu, ready to use immediately. (And don't forget to go to the wallet settings to save the Wallet Config / BSMS structure file as a backup!)
Summary
Moving up to use the Multi-Vendor Multisig system on a program like Nunchuk Desktop may seem to involve a few more steps on the first day when we have to register keys one device at a time, but in exchange for eliminating the single point of failure from our lives, no longer having to worry about device failure, device loss, or physical threats again, this is the most worthwhile investment of time and effort for those who truly want to hold Bitcoin long-term.
And don't forget that an equally important foundation to setting up a Multisig system is choosing genuine devices from the start. Ordering a Hardware Wallet through an Authorized Reseller in Thailand like Bitcast will help friends be confident that every device is shipped directly from the manufacturer, has a Thai center warranty, and has a team of experts ready to provide support and advice throughout use.
If friends follow this guide and get stuck at any step, or want to consult on designing a Multisig device set suitable for their own portfolio size, you can comment and chat below, or message the Bitcast team anytime.
Basic Troubleshooting for Common Issues
1. Click the Refresh devices button, but the program does not find the Trezor or OneKey device
- Cause: Often caused by having another wallet management program running in the background (such as having the Trezor Suite app, OneKey App, or a browser connected to WebUSB open), causing the device to be contested for connection, or using a USB cable that is only a charging cable (no Data line)
- Solution: Close Trezor Suite, OneKey App, and all other browser tabs first. Then unplug and replug the USB cable, unlock the PIN code on the Hardware Wallet screen again, and then click the Refresh devices button on Nunchuk.
2. The Blockstream Jade QR Code cannot be scanned, or scanning it shows an invalid path alert
- Cause: Forgot to switch the mode on the Jade Export Xpub screen from the default (Singlesig m/84'/0'/0') to Multisig ( m/48'/0'/0'/2'), or reflections on the device screen prevent the computer's webcam from focusing on the image
- Solution: Check the text below the QR Code on the Jade screen to make sure it is always m/48'/0'/0'/2', and try adjusting the distance between the Jade screen and the webcam at an angle that does not reflect ceiling lights. The system will scan it within a few seconds.
Frequently Asked Questions (FAQ)
There are no problems at all. The reason Nunchuk displays the device type as trezor is due to the Trezor Compatibility Mode in the OneKey device, which uses the same communication protocol as Trezor to allow it to work smoothly with international software. When naming in the Key name field, Admin recommends clearly typing OneKey so you can pick the right device when signing transactions without confusion.
In addition to the Seed Phrase sheets of all 3 Hardware Wallets, which must be stored in separate locations, the wallet structure file (Wallet Configuration File or standard BSMS / Output Descriptor file) must always be backed up together. Because if one device is lost one day, we will need to use this structure file together with the remaining 2 keys to recover the wallet through Nunchuk or recover it to use on the Sparrow Wallet program.
Technically, it can be done, but Admin recommends setting up a Multi-Vendor Multisig (mixing brands such as Trezor + OneKey + Blockstream Jade as in this guide), which will be much safer. Because it completely cuts out the risk from firmware vulnerabilities of any one brand or supply chain risks from the same manufacturer.
No, they won't. Wallets created via the Custom wallet menu on Nunchuk use Bitcoin's open international standards (BIP-48 and BIP-129 BSMS). Your assets are on the blockchain, not held by Nunchuk. If the Nunchuk program becomes inaccessible, you can take all your BSMS backup files and hardware wallets and restore them using another standard program such as Sparrow Wallet or any other program to transfer your coins out immediately.
แชร์:
Step-by-Step Guide to Using Multisig in Nunchuk Wallet (Desktop): How to Receive and Send Coins with Blockstream Jade and Trezor (2 of 2)
Step-by-Step Multisig Guide in Nunchuk Wallet (Desktop): How to Receive and Send Coins with Blockstream Jade and OneKey (2 of 2)