


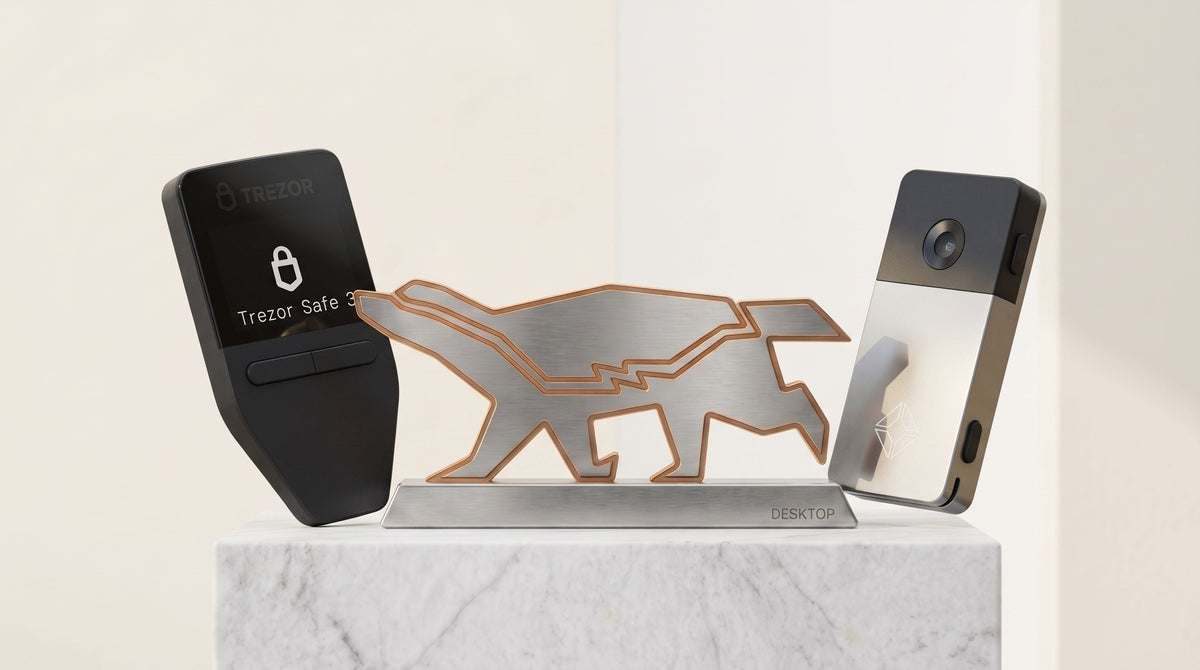
Summary: A step-by-step guide on how to use a 2-of-2 Multisig wallet on the Nunchuk Desktop application with Blockstream Jade and Trezor hardware wallets, covering both methods of receiving coins and the process of securely switching between the two devices to sign and send Bitcoin.
- ⚠️ Warnings and Important Notes Before Receiving or Sending Coins in a Multisig Wallet
- Steps for Receiving and Sending Coins in a Multisig Wallet (2-of-2) on Nunchuk Desktop
- How to Receive Coins in a Multisig Wallet (Receive)
- How to Send Coins from a Multisig Wallet (Send)
- Summary
- Common Troubleshooting Tips
- 1. Unable to Switch to the Second Device (Trezor) and Sign, or the App Still Recognizes the Previous Device
- 2. USB Cable Connected, but Neither Blockstream Jade nor Trezor is Detected
- 3. Signed the Transaction with the First Device, but the Broadcast Transaction Button Does Not Appear
- Frequently Asked Questions (FAQ)
Hello everyone,
After learning how to import keys and set up a multisig wallet on the Nunchuk Desktop application, the next important question many users have when they start using it is: "When receiving coins into a multisig wallet or sending coins using two keys from different brands by connecting them to Nunchuk to sign together, which buttons do I need to press in what order?"
Today, I have summarized the actual steps for both receiving coins and sending coins on the Nunchuk Desktop application using a 2-of-2 multisig setup, pairing popular Hardware Wallets Blockstream Jade and Trezor, so you can follow along step-by-step in an easy-to-understand guide.
⚠️ Warnings and Important Notes Before Receiving or Sending Coins in a Multisig Wallet
⚠️ The most important precaution before actually using it
- Understand the difference between Testnet and Mainnet addresses: In the examples shown in this guide, I performed transactions on the test network (Testnet) to demonstrate the steps. The process for receiving and sending coins is exactly the same as using the live network (Mainnet), but the receiving address or coin unit symbols may look slightly different from usual (for example, on Testnet, it starts with tb1q... while on Mainnet, it starts with bc1q... according to the Native SegWit standard). There is no need to worry.
- Note on connecting Blockstream Jade in this guide (USB vs. Air-Gapped): Normally, the Nunchuk Desktop application supports signing transactions with Blockstream Jade both wirelessly (Air-Gapped QR) and via USB connection. However, while performing transactions on the test system as an example, I encountered certain limitations that prevented successful signing via Air-Gapped mode. Therefore, in this guide, I will demonstrate the USB connection method, which is more stable and easier to follow.
- Practice until you are proficient before moving large amounts of funds: Before actually moving your main assets into storage, I recommend that you first try transferring small amounts or practicing receiving and sending until you are fully familiar with the process of switching between the two devices for signing transactions. (You can read more fundamentals in the articles What Beginners Need to Know Before Using a Multisig Wallet and How Multisig Protects Hardware from Supply Chain Attacks.)
- Strictly safeguard both keys and the wallet structure backup files: Since the 2-of-2 structure requires signatures from both devices (2 out of 2) to send coins every time, you must keep the Seed Phrase for both Blockstream Jade and Trezor, as well as the wallet structure backup files (BSMS / Output Descriptor), as securely as possible.
- Close the brand's main application before connecting the device to sign transactions: Before connecting the USB cable to sign, please make sure that the Blockstream app (Blockstream Green) and Trezor Suite program are closed on your computer to prevent them from competing with Nunchuk Desktop for the connection port.
Steps for Receiving and Sending Coins in a Multisig Wallet (2-of-2) on Nunchuk Desktop
Part 1: Receiving Coins (Receive)
Click on the Multisig wallet you want to use -> Choose from 2 methods to receive coins
├─ Method 1 (Quick Receive): View the QR Code and copy the address from the right-hand panel to use immediately
└─ Method 2 (Receive Button): Click the Receive button -> Choose to copy the address from the Unused Address tab
↓
Part 2: Creating a Transaction to Send Coins (Send)]
Click the Send button -> Enter the recipient's address, the amount of coins, and a memo -> Click Continue
↓
Review the details on the Confirm transaction page (Address, Fee, Total amount) -> Click Confirm and create transaction
↓
Part 3: Signing with Both Devices via USB (Member Keys Signing)
├─ First key (Blockstream Jade): Connect the Jade via USB and unlock the device -> Click Sign in the app -> Review and confirm on the Jade screen -> A checkmark appears (1/2 completed)
└─ Second key (Trezor): Disconnect the Jade and connect the Trezor instead, then enter the PIN -> Click Rescan in the app -> Click Sign -> Review and confirm on the Trezor screen -> A checkmark appears (2/2 completed)
↓
Part 4: Broadcasting the Transaction to the Blockchain (Broadcast)
Once checkmarks appear for both devices -> Click the Broadcast transaction button to complete the process
How to Receive Coins in a Multisig Wallet (Receive)
When receiving Bitcoin into a multisig wallet on the Nunchuk Desktop application, you do not need to connect both hardware wallets every time. You can simply open the application to view the receiving address by following these steps.
- Select the wallet you want to use: Open the Nunchuk Desktop application and click on the multisig wallet you want to receive coins into from the Wallets menu on the left.
- Choose a method for receiving coins (2 methods available): In the Nunchuk wallet window, you can view the receiving address in two ways, depending on your preference:

- 2.1 Use via the Quick Receive bar (Fast method): A Quick Receive box will appear on the right side of the screen, ready for immediate use, displaying both a QR code and an address that you can click to copy and use for receiving coins.
- 2.2 Click the Receive button: Click the Receive button on the left side of the wallet.

The system will open a separate Receive window, which will display addresses categorized as Unused Addresses (addresses that have never been used) and Used Addresses (addresses that have already been used to receive coins). You can use the address or QR code from the Unused Addresses section. (Additionally, you can connect your device and click Verify address on device to check its validity on the device screen before use, or click Generate new address to create additional receiving addresses.)
How to Send Coins from a Multisig Wallet (Send)
When sending Bitcoin from a 2-of-2 Multisig wallet, the process is similar to accessing a vault that requires two keys—the Blockstream Jade and Trezor—to provide the necessary signatures. The steps are as follows:
1. Select the wallet you want to use and click the start transfer button: Select the Multisig wallet you want to use from the menu on the left, then click the Send button.

2. Enter the transfer details in the New transaction window: After clicking the Send button, the New transaction window will appear. Review and enter the following important details:
- Balance: Shows the total remaining BTC balance in this wallet.
- Enter recipient’s address: Enter the recipient’s address here.
- Amount: Enter the amount of BTC you want to send.
- Transaction note: Enter an optional note for this transaction.
- Once you have entered all the information, click the Continue button.

3. Review the summary in the Confirm transaction window: This window displays a summary of the entire transaction for you to review once more, including the destination address, network fee (Fee), and total amount. Carefully check all the details. Once everything is correct, click the Confirm and create transaction button.
4. Enter the signature window (Transaction details): The system will take you to the Transaction details window, which displays the transaction information and lists the keys under Member keys for you to sign, up to the number of keys required by your settings (in this example, two keys).
💡 Note: Although the Nunchuk Desktop app supports air-gapped signing for the Blockstream Jade, we encountered some issues while creating this example that prevented us from completing the process in air-gapped mode. Therefore, in this step, we will use a USB connection to sign the transaction with the Blockstream Jade instead.

5. Connect the first device via USB and sign the transaction (Blockstream Jade): Connect the Blockstream Jade to your computer using a USB cable. Unlock the device screen, then click the Sign button for the Blockstream Jade key in the Nunchuk app and wait a moment for the system to send the data to the Jade.
6. Check and confirm on the Blockstream Jade screen: Look at the Blockstream Jade screen to check the destination address and the amount to be sent. If the information matches, press the confirm button on the Jade device until the process is complete. Once confirmed, the status in the Nunchuk app will change to a checkmark (1 of 2 signatures completed).
7. Switch the cable to the second device (Trezor), click Rescan, and sign: Disconnect the USB cable from the Blockstream Jade and connect it to the Trezor instead. Enter the PIN to unlock the Trezor device. Then, in the Nunchuk app, click the Rescan button to allow the program to scan for the new device. Once the Rescan is complete, click the Sign button for the Trezor key and wait to confirm the transaction on the Trezor device.

8. Check and confirm on the Trezor screen: Check the destination address and the amount on the Trezor device screen once more. If they match, you can confirm the transaction on the device. Once confirmed, the Nunchuk app will display a checkmark for both keys.
9. Broadcast the transaction to the blockchain: Once both devices have been signed and display a checkmark, click the Broadcast transaction button below to send the transaction to the Bitcoin network. The process is now complete.

Summary
As you can see, receiving and sending coins from a 2-of-2 Multisig wallet using the Nunchuk Desktop app is not as complicated as many people fear. Simply understand the timing of switching the USB cable and clicking the Rescan button so the program can detect the second device, and you can carefully verify the transaction on the separate screens of both the Blockstream Jade and Trezor. This completely eliminates the risk of relying on a single device.
And for those who want to set up a genuine hardware wallet for a Multi-Vendor Multisig system, purchasing through an authorized reseller in Thailand such as Bitcast will ensure that every device comes directly from the manufacturer, includes a Thai official warranty, and is supported by a team that provides guidance throughout its use.
If you follow this guide and get stuck at any step, feel free to comment below or contact the Bitcast team via Inbox anytime.
Common Troubleshooting
1. Cannot switch the cable to the second device (Trezor) and click Sign, or the app still remembers the previous device
- Cause and solution: When you disconnect the cable from the first hardware wallet and connect it to the second device via a USB port, the program may not automatically update the connection status. First, unlock the PIN on the Trezor device screen, then click the Rescan button on the Nunchuk Desktop program screen once. The system will detect the new device and allow you to click the Sign button as usual.
2. The USB cable is connected, but the program cannot scan for either the Blockstream Jade or Trezor
- Cause and solution: Check that the Blockstream app (Blockstream Green) or Trezor Suite program is not running in the background, as the USB system only allows one program to communicate with the device at a time. If you close those programs and it still does not appear, try disconnecting and reconnecting the USB cable, or switch to a USB cable that supports data transfer (Data Cable).
3. Transaction signing is complete on the first device, but the Broadcast transaction button does not appear.
- Cause and solution: Since this wallet is configured with a 2-of-2 Multisig condition, the system will not allow the transaction to be sent until it has received both signatures. You need to switch the cable to the second device, press Rescan, and press Sign until checkmarks appear for both items. Only then will the Broadcast transaction button appear for you to press.
Frequently Asked Questions (FAQ)
Not at all. In the Multisig system on the Bitcoin network, the order of signing does not affect the success of the transaction. You can connect the Trezor first, press Sign, and then switch the cable to connect the Blockstream Jade as the second device. As long as you sign until checkmarks appear for both signatures according to the 2-of-2 condition, you can press Broadcast transaction.
It is 100% as safe as a standard Hardware Wallet. Your private key is still stored only inside the Blockstream Jade device and is never sent to the computer. Connecting the USB cable is simply to send transaction data to the device for processing and waiting for us to confirm it on the Jade screen itself.
We recommend primarily choosing a receiving address from the Unused Address tab (a new address that has never been used to receive coins before). This is because modern Bitcoin wallets can generate unlimited new addresses under the same set of keys. Changing to a new address for each incoming transfer helps maintain privacy so that outsiders cannot easily browse your total balance history.
No one can see it. The information in the Transaction note field is only a personal memo displayed in our Nunchuk app and is not sent to be recorded on the public blockchain network. You can therefore feel free to type details for your own reference to view later.
แชร์:
Step-by-Step Multisig Guide in Nunchuk Wallet (Desktop): How to Receive and Send Coins with Blockstream Jade and OneKey (2 of 2)
Step-by-Step Multisig Setup Guide in Nunchuk Wallet (Desktop) (2-of-3 Example with Trezor, OneKey, and Jade)