


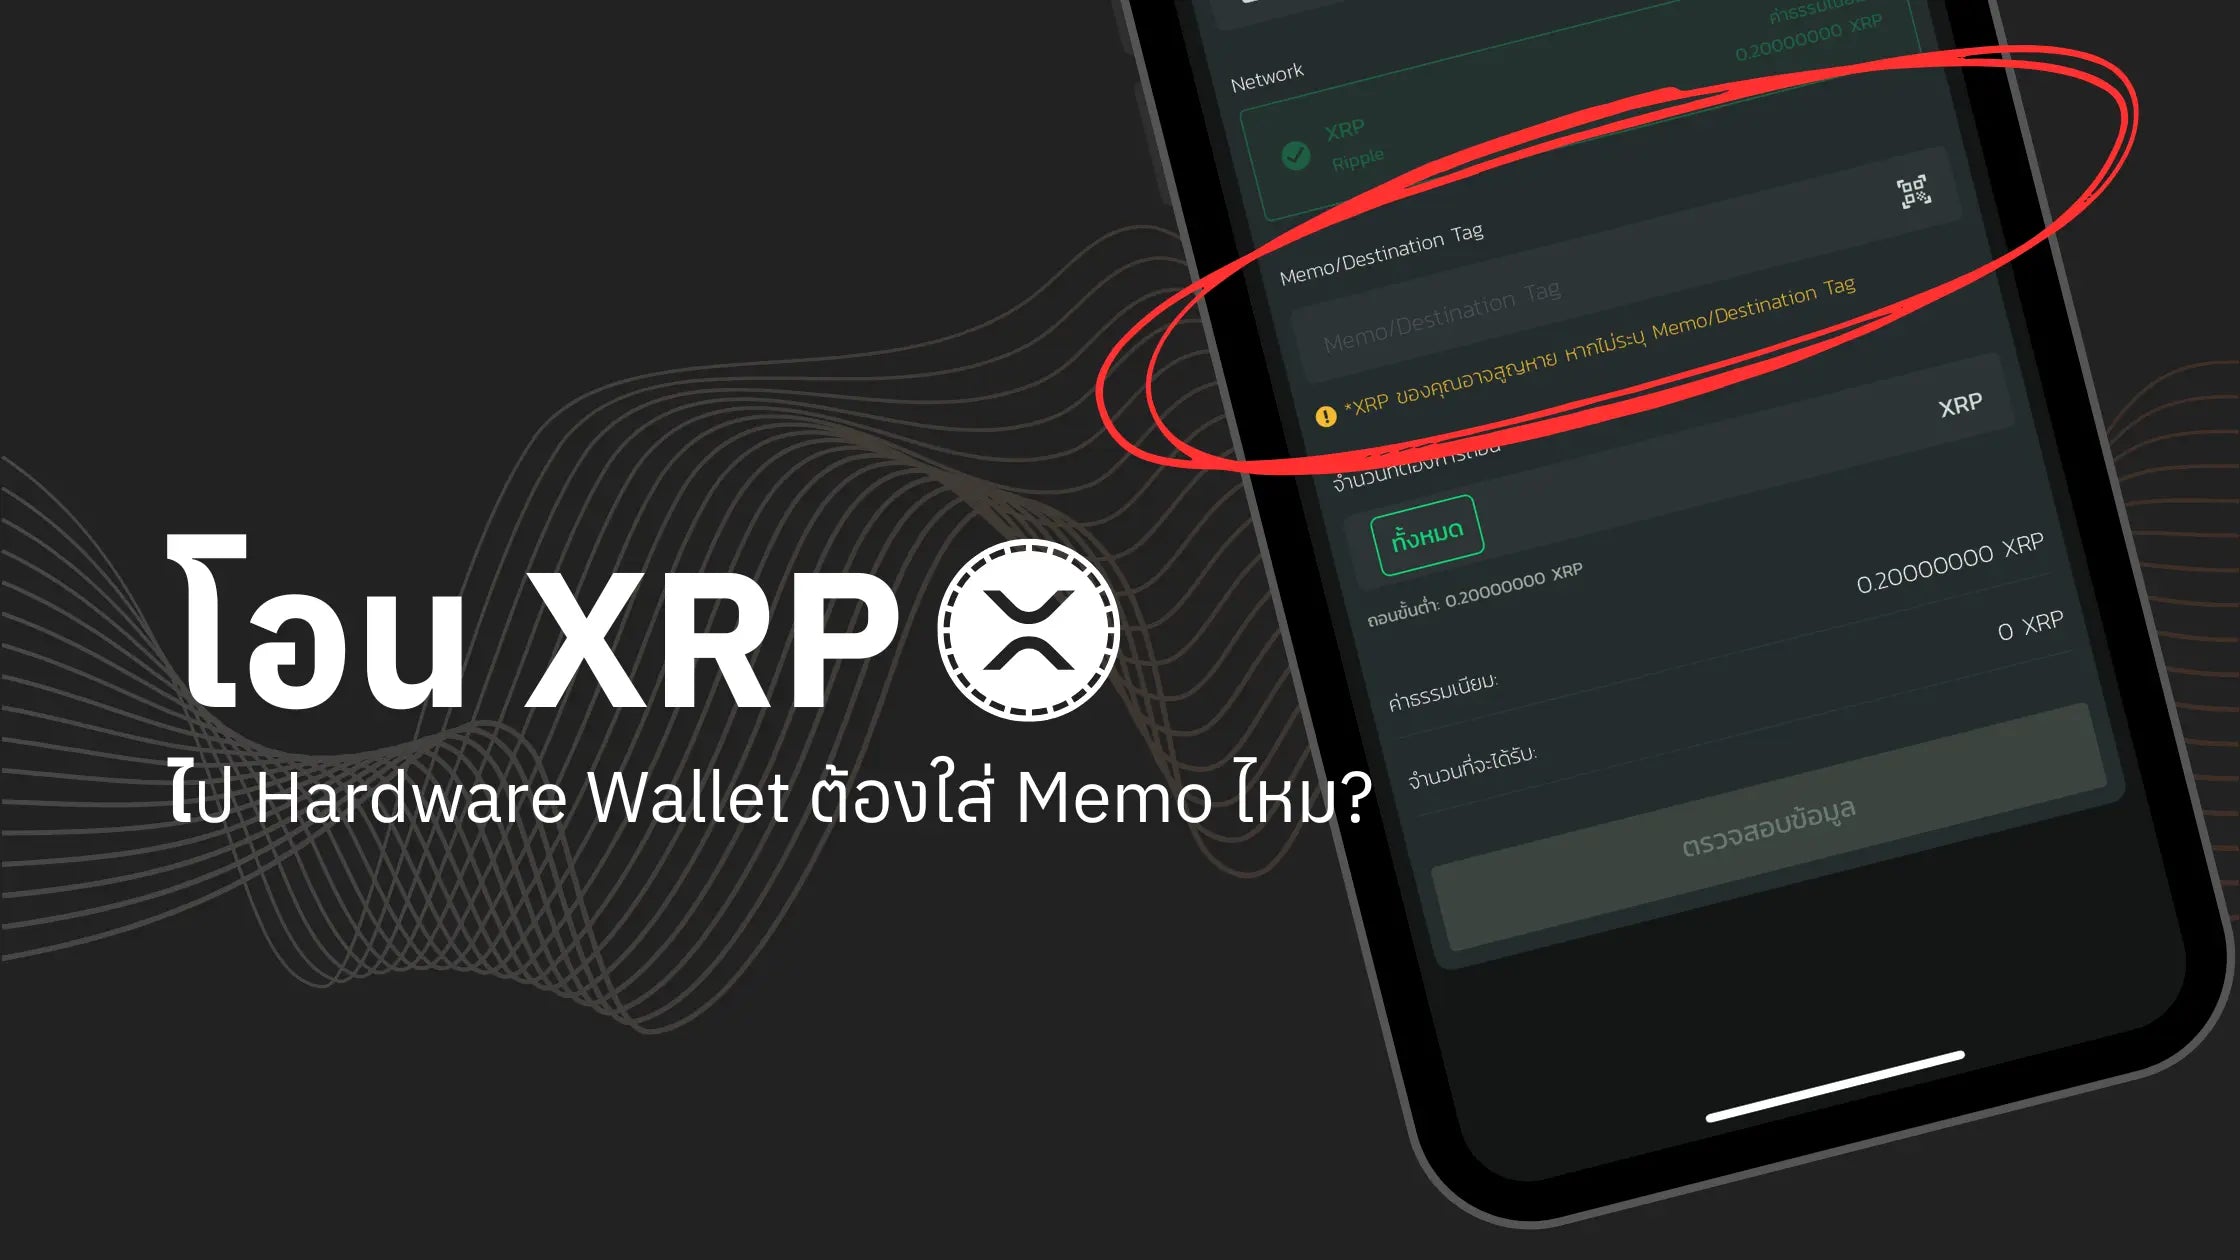
Many friends have asked if they need to enter a Memo when transferring XRP coins from an Exchange to a Hardware Wallet, as there is a field for Memo or Tag during the XRP transfer process. This article compiles answers regarding XRP transfers from various Exchanges to clarify any doubts about transferring XRP coins.
What is a Destination Tag/Memo?
First, we need to understand how coins are stored on an Exchange. Since we don't hold our own Private Keys, using a Wallet Address relies on the Exchange issuing the Wallet Address to users for receiving XRP coins. Comparing this to traditional finance for a simpler understanding:
It's like the "destination bank" where we want to transfer the coins, which serves as the Exchange's coin storage. Normally, coins are pooled in a Hot Storage or circulating wallet before being transferred to individual account holders.
It's like the "account holder's name" who will receive the transfer from the Exchange.
In short, when transferring XRP from an Exchange to a Hardware Wallet, it is not necessary to enter a Destination Tag/Memo.Therefore, if any coin or token requires a Memo or Address tag, the user must enter the complete Tag number; otherwise, they might have to go to great lengths to recover their coins.
What should I do if I forget to enter the Destination Tag/Memo?
Many people are concerned and anxious when they transfer coins but forget to enter the Destination Tag/Memo, wondering if the coins are lost. Don't worry or be anxious; the coins are not lost. They are simply in the Hot Storage or circulating wallet of the Exchange. Since there is no Tag or account holder's name for the Exchange to transfer the funds to, the transferred amount will not appear in the recipient's account.
To resolve this, you need to contact the Exchange's support team.
When is a Destination Tag/Memo required?
A Tag must be entered in the following cases:
- Transferring from one Exchange to another.
- Transferring from a Hardware Wallet/Software Wallet to an Exchange.
- Transferring to a service that specifies a Tag is required.
Examples of consequences if a Tag is not entered when required:
- Funds may be lost or not reach the recipient.
- You may need to contact support to recover funds (if possible).
- It might take several days or weeks.
- In some cases, funds may not be recoverable.
Precautions when transferring XRP to a Hardware Wallet
- Check the destination address
- Double-check that the address is correct, character by character.
- Use Copy & Paste instead of typing manually.
- Verify at least 2-3 times.
- Reserve Requirement
- A minimum of 10 XRP is required in the wallet to activate it.
- This amount is locked and cannot be withdrawn.
- Test before actual transfer
- It is recommended to try transferring a small amount first.
- Once you are sure everything is correct, then transfer the desired amount.
Secure Transfer Steps
- Preparation
- Connect your Hardware Wallet to your computer.
- Ensure the firmware is up-to-date.
- Open the relevant application (e.g., Ledger Live).
- Transfer Process
- Copy the XRP address from your Hardware Wallet.
- Go to the withdrawal page on the Exchange.
- Paste the destination address.
- Specify the amount of XRP you wish to transfer.
- Review the fees.
- Confirm the transaction.
- Verification
- Wait for transaction confirmation from the Exchange.
- Check the transfer status in the XRP Ledger Explorer.
- Confirm receipt of coins in your Hardware Wallet.
Common Errors
- Incorrect address entered.
- Attempting to transfer less than the minimum, resulting in a failed transfer.
- Hardware Wallet firmware not updated.
- Entering a Destination Tag when it is not necessary.
- Not entering a Tag when transferring to an Exchange (if required).
Transferring XRP coins from various Exchanges in Thailand
Transferring XRP from Bitkub to a Hardware Wallet
According to Bitkub Support, for assurance, the Destination Tag/Memo field can be left blank.

Transferring XRP from Bitazza to a Hardware Wallet
Based on inquiries with Bitazza Support, for certainty, the Destination Tag/Memo field is mandatory. You can enter '1111'.

Conclusion
Transferring XRP to a Hardware Wallet does not require a Destination Tag/Memo, but it is important to be careful about the correctness of the address and the Reserve Requirement. For those looking for a high-quality Hardware Wallet at a good value, OneKey is an interesting choice. With full XRP support, regular system updates, and comprehensive security features, OneKey is a suitable option for both beginners and those seeking high-level security for long-term XRP storage.
Special thanks to Bitkub for some information.
What is a Memo/Tag and why is it so important!
https://www.bitkub.com/th/blog/importance-of-memo-and-tag-address-bitkub-4d57a27dc432


แชร์:
5 Crypto Wallets Supporting TON Network in 2024
Which network should I choose to transfer Bitcoin from an exchange to a hardware wallet?